The first craft show of the year has been racing up on me, and the closer the date got, the more concerned I became about how I was going to display my wares. This year I've added several new things to my normal goods: hair clips, activity boxes, soaps, pendants, ear cuffs, and more. I considered heading out to Michaels and dropping the money on wicker baskets when I remembered a small project I had done a few months ago: covering an old shoe box with wrapping paper and using it for storing my korker ribbons.
My new goal was to now make many nice looking boxes for my wares. I didn't think to take pictures of making these until the other day when I made the final two (for now!). It's a really simple project that most likely just uses things you have around the house, and is a great way to upcycle empty cardboard boxes.
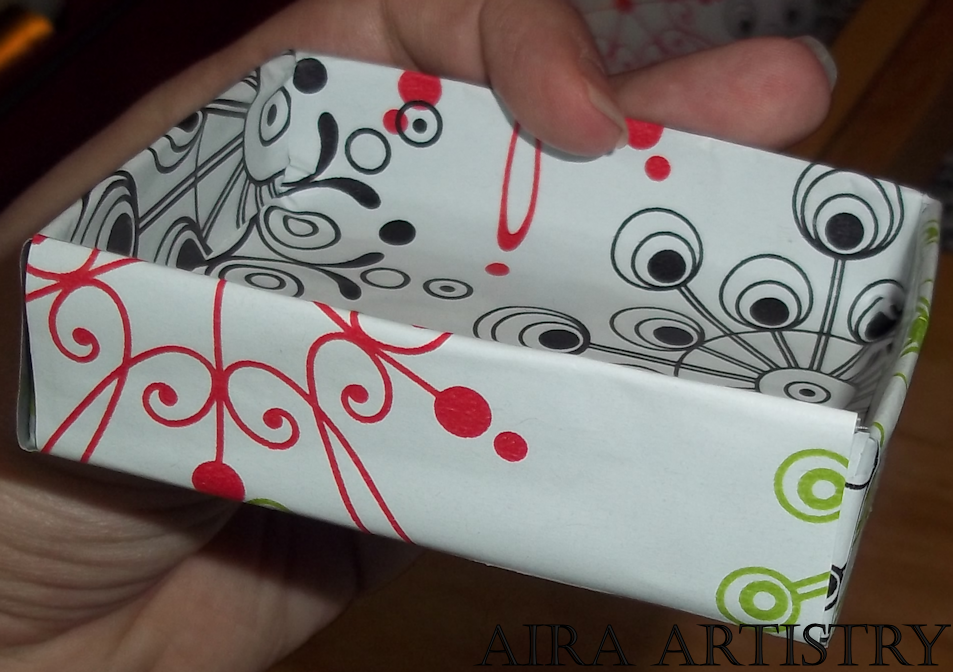
The last two boxes I made started like this:
And ended like this:
Yup, it was a two-for-one deal with this! I did have to do some clever taping to make the second box have four sides after cutting off the first tiny box, but in the end it worked.
Unrelated side note: Since it happens to be the box I used in the picture, Splat hair dye really doesn't work well. I followed the directions exactly and my hair came out pink and blonde (I'm normally a brunette; you have to bleach it first which was the only part that worked well). The front section was purple for a while, but after a week it is already fading to pink. If you want crazy colored hair I'd recommend going to a professional or simply looking into hair chalking.
Sorry for the derail! On to making the containers.
Supply List:
- Cardboard Box--whatever size or shape you want. Shoeboxes and lids can make two separate containers. The bottoms of cereal or pasta boxes would work great. If you can envision it having a use, it's perfect.
- Mod Podge, Scotch Tape, and/or Mailing Tape. Use one, two, or all three depending on how you want it to look (or what you have around at the time).
- Wrapping Paper or Scrapbook Paper. Newspaper or magazine pages would probably work as well! The wrapping paper I used here is reversible holiday wrapping paper I picked up last December at Sams Club.
- Scissors.
- (optional) Measuring Tape (preferably a cloth one to reliably measure around edges).
Now that you have everything, trim your box to whatever size you need. If you have a pasta box you want to use in a cubby, then make sure it isn't too tall, and so on. Some boxes may need flaps trimmed off. Others may not need any alterations and are perfect as-is!
After getting my box sized, I check to see if any parts need stability or are coming loose. These I like to use mailing tape on since it will make the box more rigid overall. Since this one happened to be so tiny I covered most of it in mailing tape. Bigger and thicker boxes likely won't need any stability unless something is loose.
Now you'll want to measure (or eyeball) how much of your paper you'll need. Ideally, you want two strips that will wrap around the box horizontally and vertically. Using cloth measuring tape makes this part a lot easier since you can wrap it all the way around to get the length and push it down inside to get an exact width.
Before I start wrapping my two strips around the box I like to put smaller scrap strips on the corners. This isn't necessary but I like for my boxes to have as much coverage as possible! These I always use Scotch Tape for since the taped parts are rarely visible.
It's time to get the strips on. Since I find it impossible to ever cut a straight line, I like to make sure my strips will fit, and size them (and trim if necessary) before adhering them.
The next part varies depending if you're using Mod Podge or tape to adhere the strips. If you're using tape, keep the first strip in the box and secure it on all the way around, then add your second strip going the other way and do the same. If you're gluing, pull the first strip out, add Mod Podge to the inside (not too much, you don't want bubbles), smooth your strip on.
Then add Mod Podge to the outside and smooth your strip around the sides
and bottom. Rinse repeat for the second strip. To ensure that it will
hold well you may want to lightly add some Mod Podge to the bottom and
seams.
Let the Mod Podge dry and you have a new custom made storage container! I've done these using only tape, only Mod Podge, and combinations of the two. The ones using Mod Podge come out the nicest in appearance, but all of them are equally functional and stylish. Here's one I did using mailing tape, Scotch tape, and some oversized scrapbook paper from a value pack:
The split in the middle is to accommodate a divider I added in. It's not the prettiest box on the block but it holds quite a bit and displays my hair clips exactly how I wanted.
Be creative and have fun with this! You'll never have to spend $10+ on a in-store basket again.


No comments:
Post a Comment