
+Top+Banner+Boxes.png)
- Tin container (empty and rinsed out). Mints are usually a good source of these. Since this is being re-purposed, $0 cost.
- Acrylic paint. I picked up some $0.99-$1.19 bottles from Michaels, various brands.
- Foam brushes or paint brushes. One for each color you're using; an extra one for Mod Podge if you're using that as well. A value pack of the small foam brushes runs about $5 and should be 8-10 brushes.
- (optional) Mod Podge. I use this not only for the finished appearance it gives the boxes, but also as a bit of extra protection from the paint being scraped off too easily. A large bottle is $11-$12, but many craft stores frequently offer 50% off coupons and that's a great time to buy this item.
- (optional) Foamie stickers. These tins usually will have raised lettering on them, so this is a fun way to hide as much of that as you can. The large value packs have a variety of many stickers and are often on sale at Michaels ($5-$7 typically). One or two value packs would likely decorate hundreds of tins.
- Whatever items you want to use inside! Crayons, golf pencils, magnets, paper, scrap cardstock, etc. Cost varies.
With these tins you can simply paint the lid, but if you want to completely transform it, you can also paint the bottom and even inside. If you are painting the bottom I highly recommend pulling the lid apart and painting them separately. Before putting them back together, allow the two pieces to dry an extra 12-24 hours. You may need a small flathead screwdriver to push the tin hinges back into place after fitting the top and bottom back together.
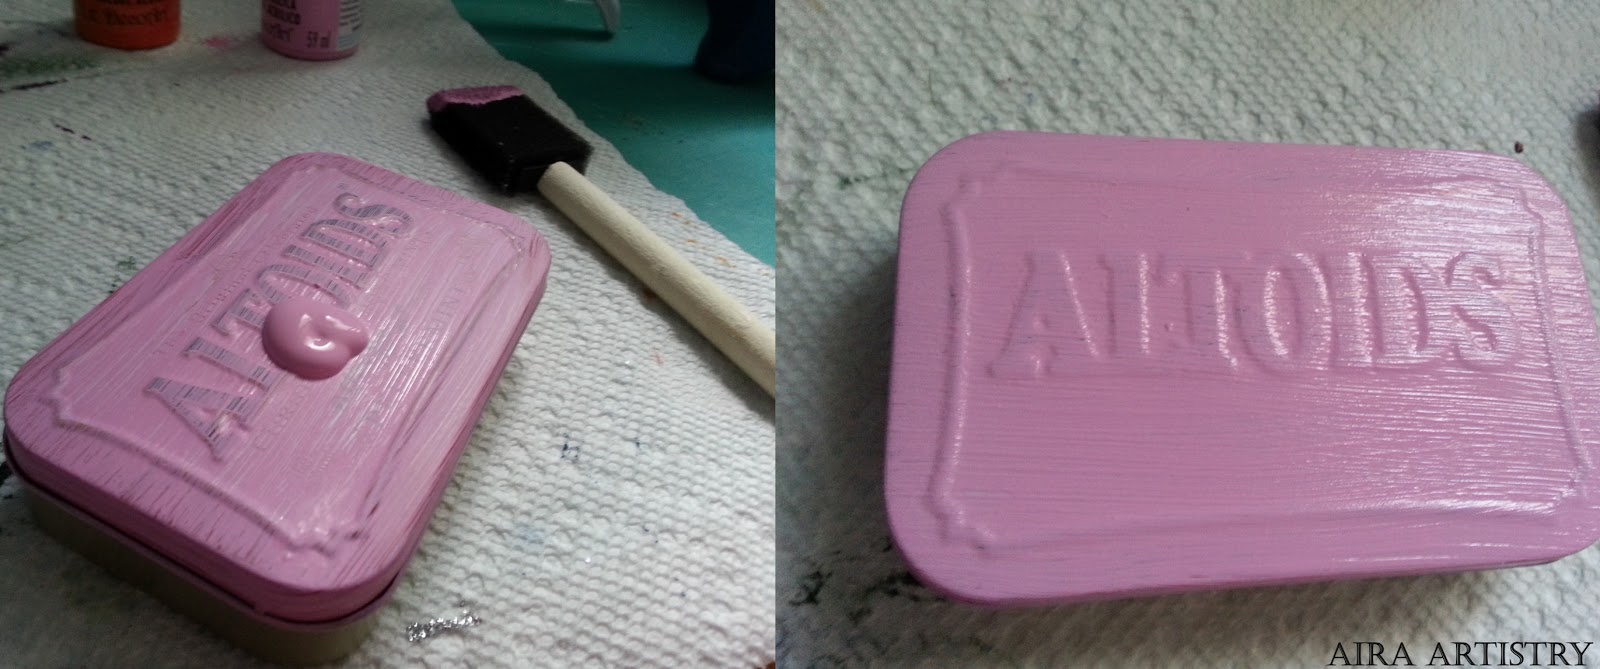
This project is pretty straight-forward. Choose your color(s) of acrylic paint, grab a foam brush (I prefer foam) or paint brush and smooth on your first coat. Make sure you get the edges, but be careful not to apply it to the hinges or slop over onto the bottom if you didn't pull the top and bottom apart. Allow it to fully dry.. depending on how much was used it can take anywhere from 5 to 30 minutes to get a good dry in, if not longer. If you want to ensure it's really dry all over, give several hours between coats. I've taken to getting many foam brushes and rinsing them out between applications, then using a different dry brush once the paint coat is dry. The wet brushes I dry in front of a fan or over a furnace grate, depending on the season.
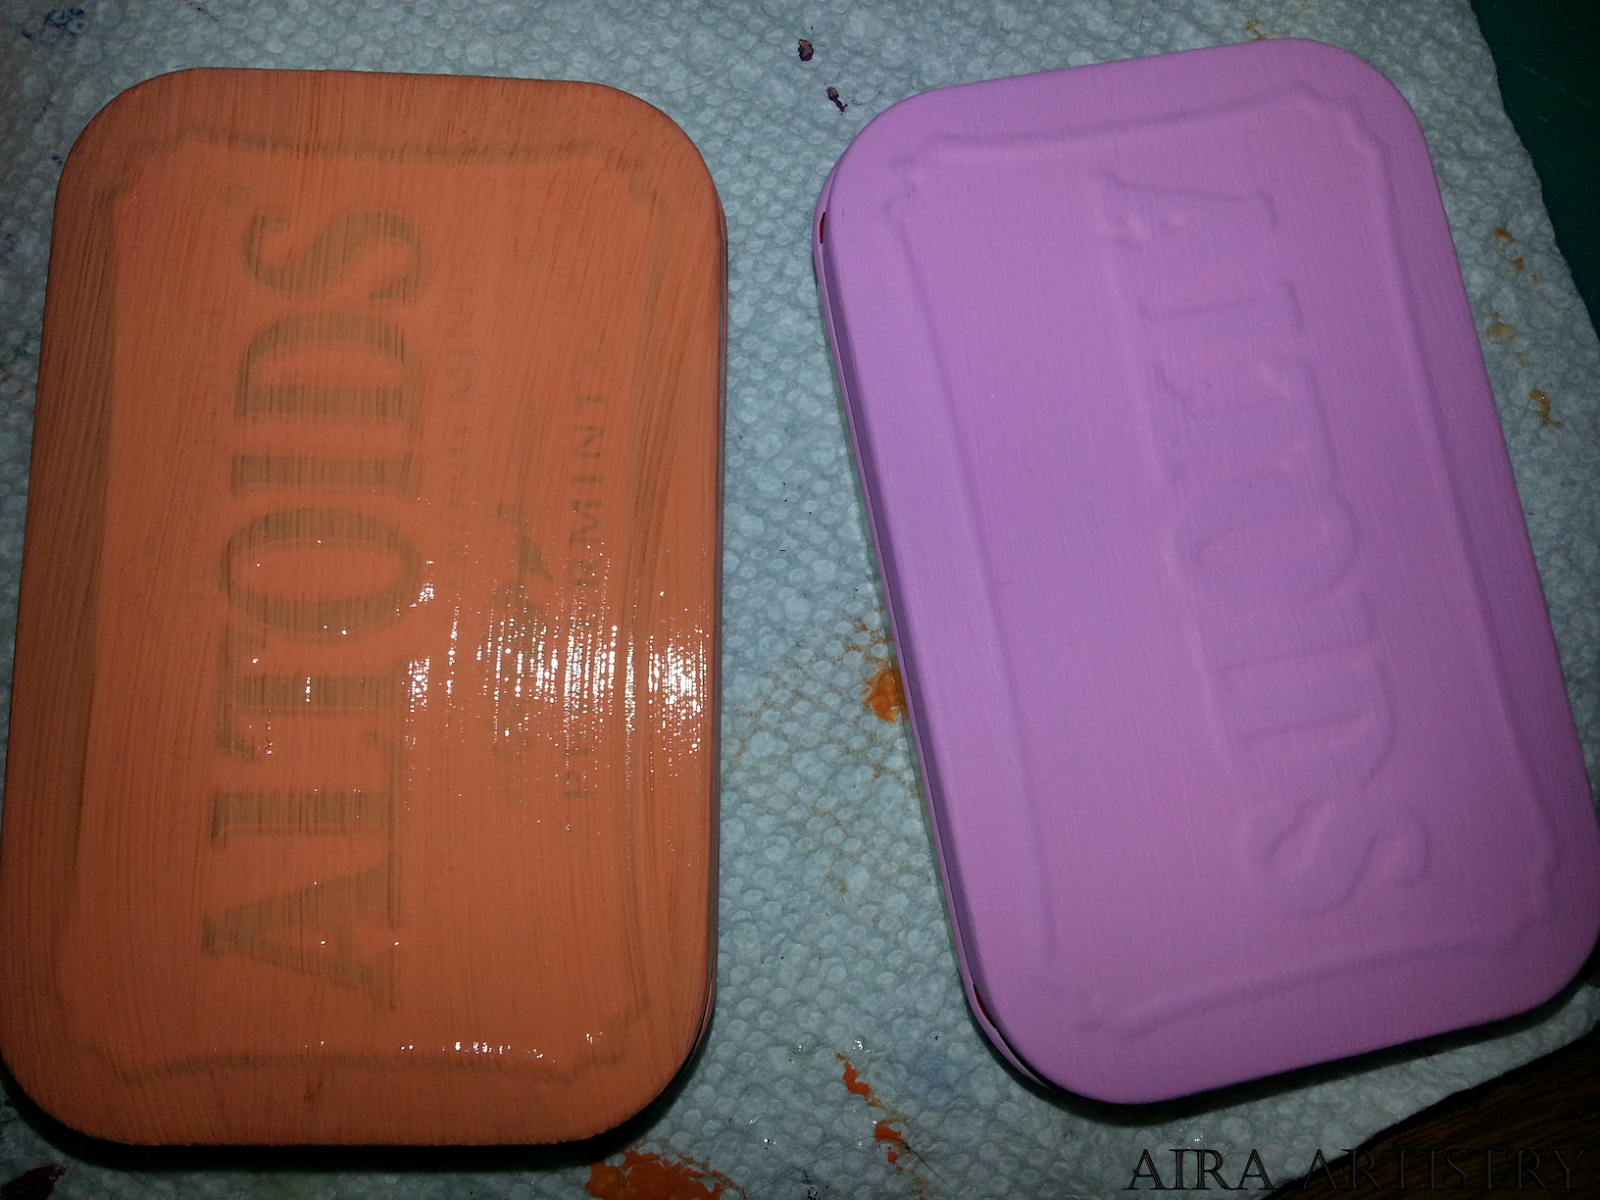
Not all colors are created equal: as seen in my picture below, both of my paints are the same brand, but the orange is clearly thinner than the pink. By the end of this project I ended up having to use 2-3 extra coats of orange to get the coverage I wanted. Sometimes mixing in a dab of similar paint that you know applies thicker will help (which I eventually did on my orange tin).

Start adding in your second and third coats. Ensure nice, even coverage. If previous coats have tiny spots that seem to not get covered well, it means it needs to dry longer. Come back to it later in the day or let it set overnight.
One you feel the paint is at a nice thickness (all metal covered, no tin color bleeding through, non-raised lettering obscured) let it dry for 12-24 hours.
Once the tin has been allowed to dry its final coat (preferably overnight), you have the option of jazzing it up a bit.

Michaels had a sale on their "foamie" stickers a while back and I picked up a couple value packs, which were $5 each on sale. These had a nice variety to choose from and I have a gallon zip-lock bag full of the stickers even after splitting them with my kids. Before removing the adhesive back, lay out the stickers until you're happy with their placement. I try to obscure as much of the raised "Altoids" as possible on mine, and on later tins started adding stickers on the inside of the lid as well. Once you're happy with their placement, remove the backs and carefully stick them to the tin. If you place it should be okay to unstick and re-stick them, just do it slowly.
Once your stickers are in place you can kick it up another notch and give it a nice finish. This is where I use my Mod Podge (I use a matte finish, but whichever you like should work fine). The bottle I got with a 50% off coupon at Michaels, costing me only $6, and is large enough that I will be using it for many, many months. A foam brush works best with Mod Podge, so grab one and smooth it on the lid. If you separated the lid and bottom to paint both, keep them separated while using the Mod Podge on both. Try to keep it out of the hinge area, but if some gets in there carefully remove it with fingernails or toothpicks.

Here are both of my tins with wet Mod Podge on them still. It dries clear and gives an awesome finish. If you used the foamie stickers you'll notice that, like above, it collects around the stickers. You can fix it with the foam brush by simply pushing it out from the edges, or grab a smaller paint brush and brush it out that way. If you don't mind the excess there, just keep it and let it dry for a more natural and handcrafted look.
Once everything is fully dried and your tin reassembled, you have a cool activity box! They make great gifts for when your kids want to go to a last minute birthday party, can occupy time on a road trip, or help with organizing your smaller items. Whatever you use them for--enjoy the savings!
+Finalized+Boxes.png)
Some finalized tins. The dinosaur tin on the left I allowed the Mod Podge to dry more thickly, and also painted the bottom section a different color. On the right I incorporated some glossy magazine pages; the middle tin is a hybrid of the paint and page styles, while the tin on the right only had the page Mod Podged onto it.
No comments:
Post a Comment